You can boost your productivity and streamline your workflow by utilizing virtual desktops in Windows 11. Your digital life will become more organized as you learn to create and manage multiple desktops. You will be able to separate your work and personal tasks, reducing clutter and increasing focus. In this post, you will discover how to set up and use virtual desktops to tailor your Windows 11 experience to your needs.
Key Takeaways:
- Windows 11 allows users to create multiple virtual desktops, which can be used to separate work, personal, and entertainment activities, helping to reduce clutter and increase productivity.
- Virtual desktops can be created and managed by clicking on the Task View button on the taskbar, or by using the Windows key + Tab shortcut, making it easy to switch between different desktops.
- Each virtual desktop can have its own set of open windows and applications, allowing users to tailor their workspace to specific tasks or activities, and easily switch between them.
- Virtual desktops can be customized with different backgrounds and names, making it easy to identify and distinguish between them, and adding a personal touch to the user’s workflow.
- By using virtual desktops, users can streamline their workflow, reduce distractions, and improve their overall computing experience, making Windows 11 a more efficient and enjoyable operating system to use.
Understanding Virtual Desktops in Windows 11
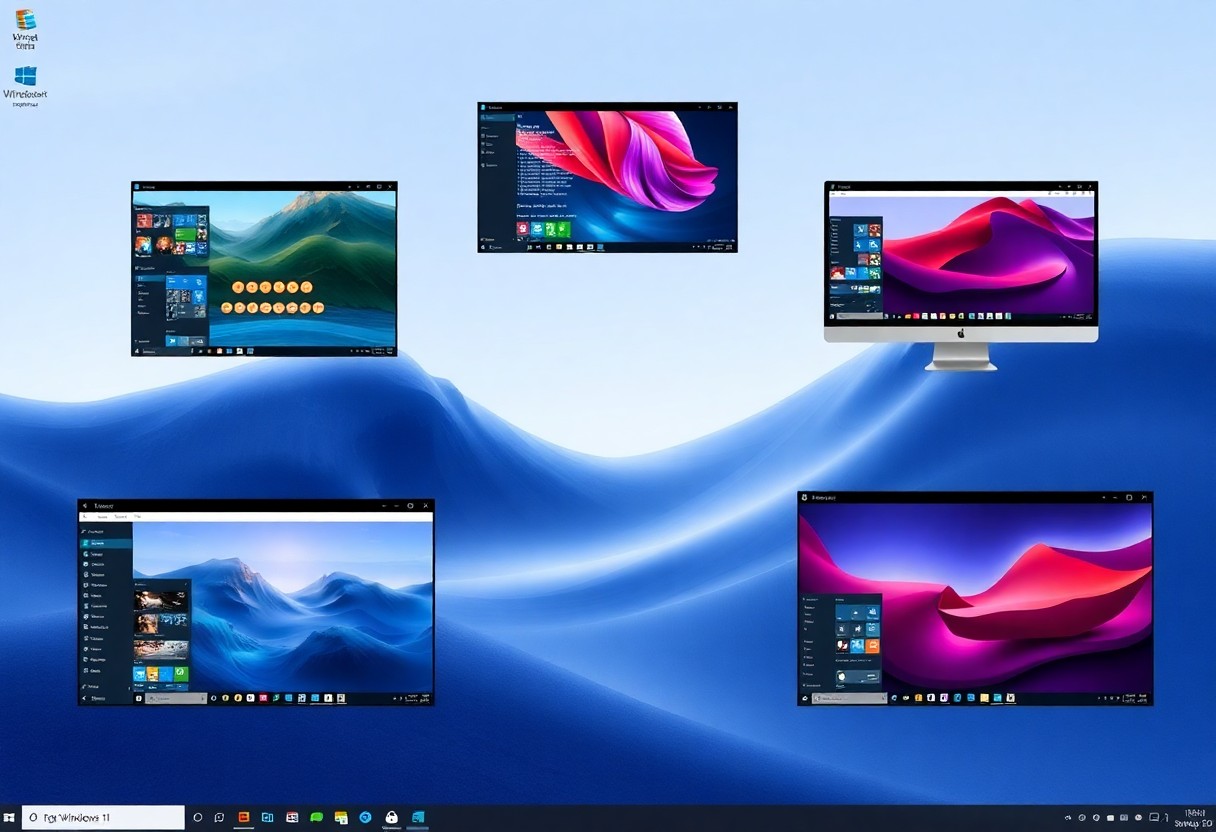
A key feature in Windows 11, virtual desktops allow you to create multiple desktops, each with its own set of applications and windows, helping you to organize your work and personal life more efficiently.
What Are Virtual Desktops
With the ability to create separate desktops, you can customize each one to suit your specific needs, whether it’s for work, gaming, or entertainment, allowing you to switch between them seamlessly.
Benefits of Using Multiple Desktops
Now that you have multiple desktops at your disposal, you can prioritize your tasks and reduce clutter on your main desktop, making it easier to focus on the task at hand.
Understanding the benefits of using multiple desktops, you can take your productivity to the next level, as you will be able to dedicate each desktop to a specific task or project, keeping your applications and windows organized, and easily accessible, allowing you to work more efficiently and effectively, and making the most out of your Windows 11 experience.
Setting Up Virtual Desktops
Some of the benefits of virtual desktops include improved organization and reduced clutter on your screen. You can set up virtual desktops in Windows 11 to separate your work, personal, and entertainment activities.
Creating Your First Virtual Desktop
Your first step is to click on the Task View button on your taskbar, then click on “New desktop” to create a new virtual desktop. You can then customize it as per your needs and add the apps you want to use.
Keyboard Shortcuts for Quick Access
Virtually all tasks can be performed using keyboard shortcuts, and Windows 11 provides several shortcuts for virtual desktops. You can use the Windows key + Ctrl + D to create a new desktop and Windows key + Ctrl + F4 to close the current desktop.
This feature allows you to quickly switch between your virtual desktops using the Windows key + Ctrl + Left/Right arrow keys, making it easy to access the apps and windows you need. You can also use the Windows key + Tab to view all your open windows and virtual desktops, giving you a clear overview of your workflow and allowing you to switch between them seamlessly.

Managing Virtual Desktops
Keep your virtual desktops organized by learning how to manage them effectively. You can add, remove, and switch between desktops with ease, allowing you to customize your workflow and boost productivity.
Moving Applications Between Desktops
Desktops can be tailored to your needs by moving applications between them. You can drag and drop windows to move them to a different desktop, or use the Task View to transfer them, giving you flexibility and control over your virtual desktops.
Customizing Desktop Backgrounds
Moving on to personalization, you can customize the background of each virtual desktop to help you differentiate between them. You can choose a unique wallpaper for each desktop, making it easier to identify which desktop you’re currently using.
This customization option allows you to take your virtual desktop organization to the next level. You can choose backgrounds that reflect the purpose of each desktop, such as a work-related image for your work desktop and a personal image for your personal desktop, helping you to stay focused and avoid distractions.
Organizing Workflows
Now that you have set up your virtual desktops, you can start organizing your workflows to boost productivity. You can create separate desktops for different projects or tasks, allowing you to focus on one thing at a time.
Task-Based Desktop Arrangements
On top of this, you can arrange your desktops in a way that makes sense for your workflow, grouping similar tasks or projects together to help you stay organized.
Work-Life Balance Setup
With virtual desktops, you can also create a clear separation between your work and personal life, setting up one desktop for work and another for personal activities.
A key benefit of this setup is that you can customize your desktops to fit your individual needs, setting up different backgrounds, icons, and shortcuts for each desktop to help you quickly switch between work and personal modes, and you can also use this feature to set boundaries and minimize distractions, allowing you to focus on your work or personal activities without interruptions.
Advanced Features and Tips
After setting up your virtual desktops, you can explore advanced features. You can use:
- Multiple desktops
- Customization options
Feature Description Virtual desktops Multiple desktops for organization Multi-Monitor Support
Now you can use multiple monitors with your virtual desktops, enhancing your productivity and workflow.
Snap Layouts Integration
Integrating snap layouts with virtual desktops allows you to customize your workflow efficiently.
Snap layouts enable you to arrange your windows in a way that maximizes your screen space, and when combined with virtual desktops, you can create a highly personalized and efficient work environment, tailored to your specific needs, allowing you to switch between different desktops and layouts seamlessly.
Troubleshooting Common Issues
Many issues with virtual desktops in Windows 11 can be resolved by restarting your system or checking for updates. You can also try closing unnecessary applications to free up resources.
Performance Optimization
One way to optimize performance is to allocate sufficient RAM to each virtual desktop, ensuring you have enough resources to run your applications smoothly.
Known Limitations and Solutions
Clearly, understanding the limitations of virtual desktops is key to using them effectively, and you can find solutions to common problems in Windows 11 support forums.
Common issues with virtual desktops include compatibility problems with certain applications, and you can resolve these by checking the application’s settings or contacting the developer for support, allowing you to use your virtual desktops more efficiently and effectively, tailoring your workflow to your needs.
Summing up
Drawing together the benefits of virtual desktops in Windows 11, you can now enhance your productivity and organization. You can create separate desktops for your work, personal, and entertainment activities, allowing you to focus on your tasks without clutter. By using virtual desktops, you can customize your workspace to suit your needs, making it easier to manage your applications and windows, and ultimately, boost your overall computing experience with your personalized setup.
FAQ
Q: What are Virtual Desktops in Windows 11 and how do they help with organization?
A: Virtual Desktops in Windows 11 are a feature that allows users to create multiple desktops, each with its own set of open windows and applications. This helps with organization by enabling users to separate their work, personal, and entertainment activities into different desktops, reducing clutter and making it easier to focus on specific tasks.
Q: How do I create a new Virtual Desktop in Windows 11?
A: To create a new Virtual Desktop in Windows 11, click on the Task View button on the taskbar or press the Windows key + Tab. Then, click on the “New desktop” button at the top of the Task View window. You can also use the keyboard shortcut Windows key + Ctrl + D to create a new desktop.
Q: How do I switch between Virtual Desktops in Windows 11?
A: To switch between Virtual Desktops in Windows 11, click on the Task View button on the taskbar or press the Windows key + Tab. This will open the Task View window, where you can see all your open windows and desktops. Click on the desktop you want to switch to, or use the keyboard shortcut Windows key + Ctrl + Left/Right arrow to navigate between desktops.
Q: Can I move windows between Virtual Desktops in Windows 11?
A: Yes, you can move windows between Virtual Desktops in Windows 11. To do this, open the Task View window and drag the window you want to move to the desktop where you want to move it. You can also right-click on the window and select “Move to” and then choose the desktop you want to move it to.
Q: How do I delete a Virtual Desktop in Windows 11?
A: To delete a Virtual Desktop in Windows 11, open the Task View window and click on the desktop you want to delete. Then, click on the “X” button at the top of the desktop thumbnail to close it. Alternatively, you can right-click on the desktop and select “Close” to delete it.
Q: Can I customize the name of my Virtual Desktops in Windows 11?
A: Yes, you can customize the name of your Virtual Desktops in Windows 11. To do this, open the Task View window and click on the desktop you want to rename. Then, click on the “Desktop name” field at the top of the desktop thumbnail and type in the new name you want to give it.
Q: Are Virtual Desktops in Windows 11 saved when I restart my computer?
A: Yes, Virtual Desktops in Windows 11 are saved when you restart your computer. When you restart, all your Virtual Desktops will be preserved, along with the windows and applications you had open on each desktop. This means you can pick up right where you left off, without having to recreate your desktop setup every time you start your computer.


